Exporting CSVs using Hotwire for UI feedback
In this post we’ll take a quick look at how to use Hotwire to show the progress of a CSV export.
Let’s get started by creating a Rails app
Let’s begin by creating a new Rails app.
rails new csv-export-example
Add TailwindCSS
I would like to style my app using TailwindCSS so let’s go ahead and add that using the tailwindcss-rails gem.
cd csv-export-example
./bin/bundle add tailwindcss-rails
Run the installer
./bin/rails tailwindcss:install
Add the models which data we want to export
In order to export data, we need some data to export. Go ahead and create a new Company model using the Rails scaffold generator. I use the scaffold generator here
to get going a little faster. This will give us the Company model, controllers and views.
rails generate scaffold Company name
We want a company to have many employees. So let’s add a new Employee model using the scaffold generator as well
rails generate scaffold Employee name email company:references
This will correctly insert the belongs_to :account association in the newly created Employee model, but we want has_many :employes in app/models/company.rb as well, so let’s add that
class Company < ApplicationRecord
  has_many :employees
end
Let’s run rails db:migrate to create the companies and employees database tables.
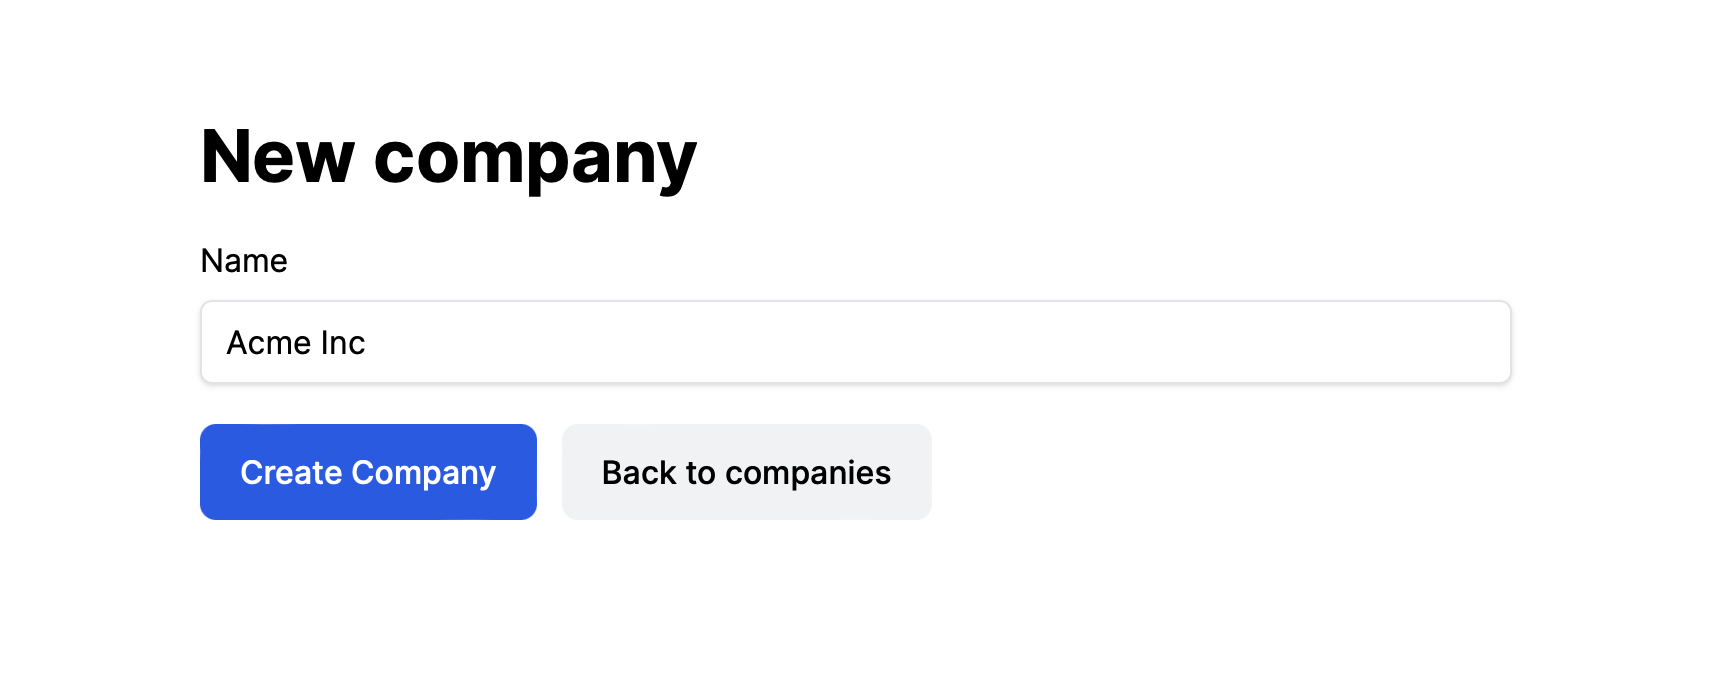
Start the server with bin/dev and visit http://localhost:4000/companies. We want a company so let’s create one by clicking on the “New company” button.
When viewing the company we see the company title. But it’d be neat if we also saw a list of all the employees.
Open app/controllers/companies_controller.rb and change the show action to look like this
def show
  @employees = @company.employees
end
We’re fetching all associated employees from the company and assigning those to the instance variable @employees so we can use it in the view.
Let’s add a an Employee section to our Company show page.
<h2 class="text-lg font-bold">Employees</h2>

<%= render @employees %>
We can add a few employees real quick by opening a Rails console and create the employees for a specific company there. Run rails c in your terminal
and run
company = Company.first
10.times { |n| company.employees.create!(name: "John #{n}", email: "john#{n}@example.org") }
That should give us 10 employees belonging to the first company.
Time to build some simple export functionality
When someone go to export employees, we want the export records to be stored in case they have thousands of employees and the request end up timing out before the export csv is generated.
Go ahead and create a new export model.
rails g model Export company:references progress_count:integer total_count:integer completed:boolean
Run the migrations rails db:migrate.
Let’s nest that under the company route. Open config/routes.rb and change resources :companies to
resources :companies do
  resources :exports
end
We want a controller as well, go create that in app/controllers/exports_controller.rb
class ExportsController < ApplicationController
  before_action :set_company

  def index
  end

  private

  def set_company
    @company = Company.find(params[:company_id])
  end
end
We can now access all exports for a given company under /companies/123/exports. But first we need to add a simple view for the index-action.
Create a new file app/views/exports/index.html.erb with
<div class="flex w-full mx-auto md:w-2/3">
  <div class="mx-auto">
    <h1 class="text-xl font-bold">Exports</h1>
    <%= button_to "Export", company_exports_path(@company), method: :post, class: "rounded-lg py-1.5 px-4 bg-blue-600 text-white block font-medium" %>

    <div class="mt-8">
      <%= render @exports %>
    </div>
  </div>
</div>
Go add the has_many :exports association to the company model in app/models/company.rb
class Company < ApplicationRecord
  ...
  has_many :exports, dependent: :destroy
end
Add the @exports instance variable with all exports belonging to a company in the index-action of the ExportsController
def index
  @exports = @company.exports
end
The last thing we need to do is adding a create controller action for the “Export” button we added to the Exports index view. Inside app/controllers/exports_controller.rb add:
def create
  @export = @company.exports.create
end
In order to render each of the export-recors, we add a app/views/exports/_export.html.erb partial. For now we’ll just have the following
<div>
  <%= export.created_at %>
</div>
This will just show when the export was created. We’ll make it look nicer later :)
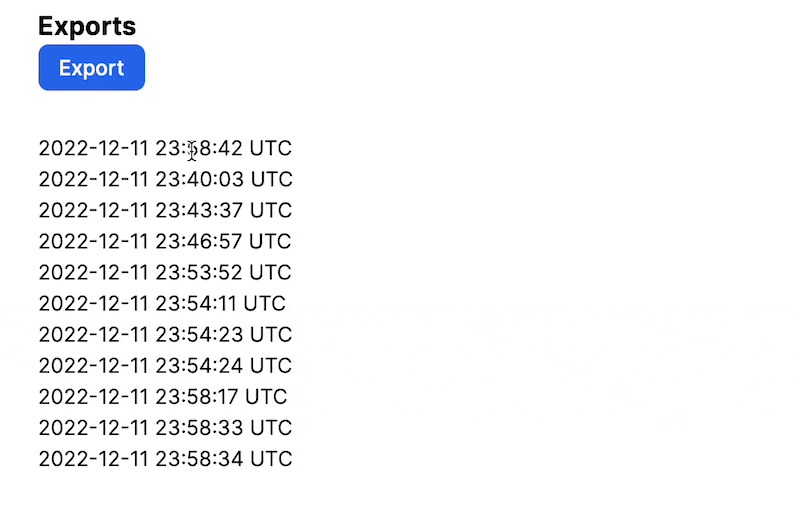
If you click the Export button and refresh the page, you should see new records being added. This is all nice and stuff. But let’s use Hotwire to automatically insert the newly created record without us having to refresh the page.
Wrap the change the <%= render @exports %> part to
<%= turbo_stream_from [@company, "exports"] %>

<%= turbo_frame_tag "exports" do %>
  <%= render @exports %>
<% end %>
This tells Rails that we want to stream updates sent to [@company, "exports"]. The turbo_frame_tag "exports" is the container we’re going to prepend updates to.
Go ahead and open app/models/export.rb - to the top of that add:
after_create_commit -> { broadcast_prepend_to company, "exports" }
Here we’re saying that after the update has been saved to the database, prepend it to the exports turbo_frame for @company. We’re scoping this to @company so we won’t see it when viewing the Exports page belonging to other companies. We only want to see it if it is related to the exports page for the current company.
If you go ahead and hit the export button again, you should see it appear at the top of the list:
But if you refresh you’ll see the newest export is rendered at the bottom. Let’s update the order we show records in by sorting them by created_at in descending order. Open app/controllers/exports_controller.rb and change the index action total_count
def index
  @exports = @company.exports.order(created_at: :desc)
end
Let’s work on the appearance of an export. In the rails console (rails c) we’ll delete existing exports and add two new ones:
Export.destroy_all
company = Company.first

company.exports.create(completed: false, progress_count: 5, total_count: 10)
company.exports.create(completed: true, progress_count: 15, total_count: 15)
Open app/views/exports/_export.html.erb and change it to
<div class="flex items-center">
  <% if export.completed? %>
    <div>
      <%= export.total_count %> users exported
    </div>
  <% else %>
  <div class="flex items-center text-slate-400">
    <svg class="w-4 h-4 mr-3 -ml-1 animate-spin" xmlns="http://www.w3.org/2000/svg" fill="none" viewBox="0 0 24 24">
      <circle class="opacity-25" cx="12" cy="12" r="10" stroke="currentColor" stroke-width="4"></circle>
      <path class="opacity-75" fill="currentColor" d="M4 12a8 8 0 018-8V0C5.373 0 0 5.373 0 12h4zm2 5.291A7.962 7.962 0 014 12H0c0 3.042 1.135 5.824 3 7.938l3-2.647z"></path>
    </svg>
    <%= export.progress_count %>/<%= export.total_count %> users exporting
  </div>
  <% end %>
</div>
There are a few things happening here. We render an svg that animates (it spins) using TailwindCSS if export.completed? is false and it shows how many processed records out of the total number. Only problem is
that we only insert new exports, we don’t update existing ones when they change. Let’s change that and add the following to app/models/export.rb:
after_update_commit -> { broadcast_replace_to company, "exports" }
Notice how it says replace. We need to be able to identify what to replace in the views. So in app/views/exports/_export.html.erb we replace the outer div with a turbo_frame_tag:
<%= turbo_frame_tag export do %>
  <% if export.completed? %>
    <%= export.total_count %> users exported
  <% else %>
  <div class="flex items-center text-slate-400">
    <svg class="w-4 h-4 mr-3 -ml-1 animate-spin" xmlns="http://www.w3.org/2000/svg" fill="none" viewBox="0 0 24 24">
      <circle class="opacity-25" cx="12" cy="12" r="10" stroke="currentColor" stroke-width="4"></circle>
      <path class="opacity-75" fill="currentColor" d="M4 12a8 8 0 018-8V0C5.373 0 0 5.373 0 12h4zm2 5.291A7.962 7.962 0 014 12H0c0 3.042 1.135 5.824 3 7.938l3-2.647z"></path>
    </svg>
    <%= export.progress_count %>/<%= export.total_count %> users exporting
  </div>
  <% end %>
<% end %>
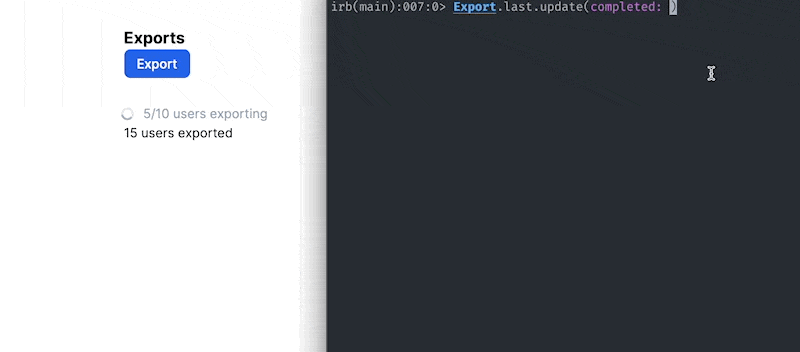
Go ahead and open a Rails console (rails c) and update one of the Export records.
Export.last.update(completed: false)
You should now see the record update in your browser without you having to refresh.
This gives us a decent foundation to build upon and we can now finally get to work with the actual exporting of records 😎
Let’s export some employees
Let’s go ahead and make a change to the ExportsController - we want to introduce a background job in case we have tens of thousands of rows that can’t export within a request and we don’t want to keep the server
busy exporting records for us when we can do it in the background.
Run the job generator
rails generate job export
Open the job we just created app/jobs/export_job.rb to
class ExportJob < ApplicationJob
  queue_as :default

  def perform(company_id)
    company = Company.find(company_id)
    export = company.exports.create!
  end
end
We’ll enqueue the job with a company_id in the ExportsController and then we’ll create the export. Go change the ExportController’s create-action to:
def create
  ExportJob.perform_later(@company.id)
end
Now it’s time to create a CSV. The first line of the CSV is the header with the name of the attributes and each line after that are the employees:
id,name,email,company_id,created_at,updated_at\n
1,John 0,john0@example.org,1,2022-12-11 22:40:45 UTC,2022-12-11 22:40:45 UTC\n
Let’s do that in a generate_csv method on the ExportJob:
class ExportJob < ApplicationJob
  queue_as :default

  def perform(company_id)
    company = Company.find(company_id)
    employees = company.employees

    generate_csv(employees)
  end

  private

  def generate_csv(employees)
    CSV.generate do |csv|
      csv << employees.first.attributes.keys # Header
      employees.each do |record|
        csv << record.attributes.values
      end
    end
  end
end
We use CSV.generate (docs here) - the first line we insert is the header line.
If you call attributes on an Employee instance, you get a hash with keys and values, something similar to:
{"id"=>1, "name"=>"John 0", "email"=>"john0@example.org", "company_id"=>1, "created_at"=>Sun, 11 Dec 2022 22:40:45.429959000 UTC +00:00, "updated_at"=>Sun, 11 Dec 2022 22:40:45.429959000 UTC +00:00}
But we only want the keys for the header, so we can call attributes.keys which gives us an array of the keys.
We then iterate over each of the employee records and ask for just the values from employee.attributes.
When all that is done it’ll will gives us a string that is our CSV :) Since this is all running asynchronously in a background job, we need to give the user a way to retrieve it. We could send it to them in an email or we could have them download it - let’s take the download route.
Say hi to Active Storage
Active Storage gives us a convenient way to attach files. Go ahead and install it
rails active_storage:install
rails db:migrate
We can then add it to our Export model in app/models/export.rb by adding the following line
has_one_attached :file
Now it’s time to actually attach the csv content to our export record. In app/jobs/export_job.rb add a attach_file! method that takes the csv string as input:
def attach_file!(csv)
  @export.file.attach(
    io: StringIO.new(csv),
    filename: "employees.csv",
    content_type: "text/csv",
    identify: false
  )
end
In the line where we call generate_csv assign the return value to a variable named csv and below that call attach_file!(csv) like so:
csv = generate_csv(employees)
attach_file!(csv)
We can then add a download link to our exports partial app/views/exports/_export.html.erb
<% if export.completed? %>
  <div>
    <%= export.total_count %> users exported

    <% if export.file.persisted? %>
      <%= link_to "Download", rails_blob_path(export.file, disposition: "attachment"), class: "text-blue-600" %>
    <% end %>
  </div>
<% else %>
.
.
.
If you click the Export button again you should see an export row but there’s no download link?! That’s because we never mark the export as completed.
Almost there! Let’s add some progress
We’re almost there! Let’s actually show some progress when we’re in the middle of exporting the CSV. This will only really be needed for companies with A LOT of employees - as an export of a few employees will finish too quickly for us to ever really see it.
At the top of the generate_csv method add an exported_count = 0 variable.
def generate_csv
  exported_count = 0
  .
  .
  .
Then where we’re iterating over the employees when we generate the CSV inside of generate_csv let’s increment this newly added variable and update the export record
exported_count += 1
@export.update(progress_count: exported_count)
Next thing is to update the export as completed. So at the bottom of the perform method, we add the following
@export.update!(completed: true)
Our job now looks like
class ExportJob < ApplicationJob
  queue_as :default

  def perform(company_id)
    company = Company.find(company_id)
    employees = company.employees
    @export = company.exports.create!(progress_count: 0, total_count: employees.count)

    csv = generate_csv(employees)
    attach_file!(csv)

    @export.update!(completed: true)
  end

  private

  def generate_csv(employees)
    exported_count = 0

    csv = CSV.generate do |csv|
      csv << employees.first.attributes.keys # Header
      employees.each do |record|
        csv << record.attributes.values
        exported_count += 1
        @export.update(progress_count: exported_count)
      end
    end
  end

  def attach_file!(csv)
    @export.file.attach(
      io: StringIO.new(csv),
      filename: "employees.csv",
      content_type: "text/csv",
      identify: false
    )
  end
end
And now everything should work! You should see a download link on the newest export if you hit the export button. Let’s try and create A LOT of employees so we can see the progress while exporting. Open a Rails console:
company = Company.first
5_000.times {|n| company.employees.create(name: "John #{n}", email: "john#{n}@example.org")}